How To Create Cool Animated Presentations In 5 Easy Steps
You’ve probably seen one of those really cool animated video presentations on YouTube and thought to yourself: “Wow I want one of those explainer videos!” But you soon find out that it’s too expensive, and doing one yourself is just impossible because there is no tool out there that lets you do it…right?
Well, you’re wrong! Now you can Do-It-Yourself!
Once you have learned the five steps to “creating an awesome Powtoon”, you will be able to create your very own cool animated “presentation-cartoon” ( Powtoon ) using Powtoon‘s awesome online animation software.

Functionally it’s as easy as creating a PowerPoint or Keynote presentation, but there are a few new things that you need to consider — (after you finished reading this article please refer to our video tutorial: How To Write an Addictive Script)
How to Create an Animated Presentation
So here are the steps to create an awesome 90 seconds product demo clip using our online video maker:
Step 1: Script
You need to create a script that describes what will happen in every “scene”.
We recommend working with the following simple guidelines to create exciting presentations with an engaging and captivating story:
- Identify the problem are you or your product addressing.
- How does the frustration manifest itself? (Expensive, labor-intensive, annoying, etc…)
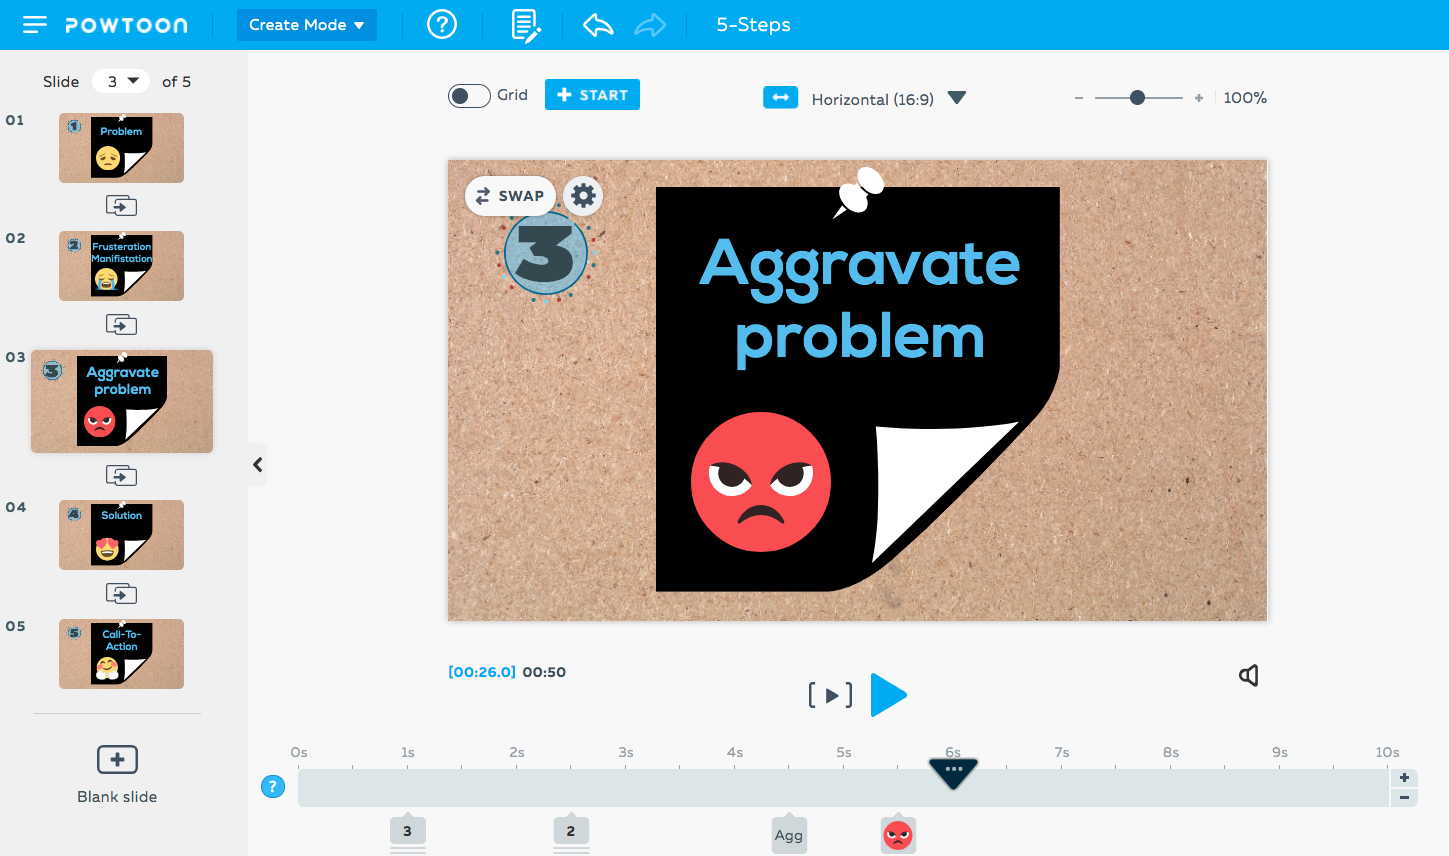
- Aggravate problem (for example show what usefulness other solutions are there)
- What is your solution, what are its benefits and why is it better?
- CALL TO ACTION: Test us – Try us – Buy Us.
Remember that when reading your newly created script without pauses, 90 seconds corresponds to around 225 words! So before finalizing your script, please make sure to do a word count (and if I can give you another piece of advice: SHORTEN THE SCRIPT ONCE and then SHORTEN IT AGAIN).
Try this animated presentation video template!
Step 2: Voiceover Guide / Background Music
You need to either choose a background track for your music or record a voiceover. This means that you need an MP3 file of the TEXT PARTS of the script read out as they will appear in the Powtoon. Don’t worry, this does not have to be a professional voiceover, it can just be something basic for now, you are doing this mainly as a TIMING guide.
So you can do this yourself (record yourself in http://audioboo.fm/) or use an online text to voice software. You can always hire a professional voiceover artist later to give your Powtoon a really polished sound, this can make a really big difference for a relatively small investment.
Once you have your voice-over guide, all you need to do is upload it into Powtoon and you will now be able to add the visuals to the sound.
Step 3: Dividing the Slides
Now you can start creating visual content according to the script. Each slide represents a scene and an idea as outlined in the script. Try to keep your slides short, this way you can put a lot of interesting visuals in your Powtoon project.
If you have a voiceover, you can make some of the words come to life using Powtoon’s animated options by making them appear in time on the screen. You don’t need to have each word that appears in the script on the stage but rather chose important words to emphasize certain points.
Step 4: Populate the Slides
Now it’s time to include additional features and make things fun such as colors, graphics, background, animation styles, props, images, and characters to your slides. It’s important to convey the message together with the graphic objects and as little text as possible, so the audience doesn’t have to sit there reading all the time (unless this is the effect you’re after) and doesn’t get overwhelmed with information.
For example: If the problem makes the main character sad, it is enough to display the main character in a sad pose without adding any text.
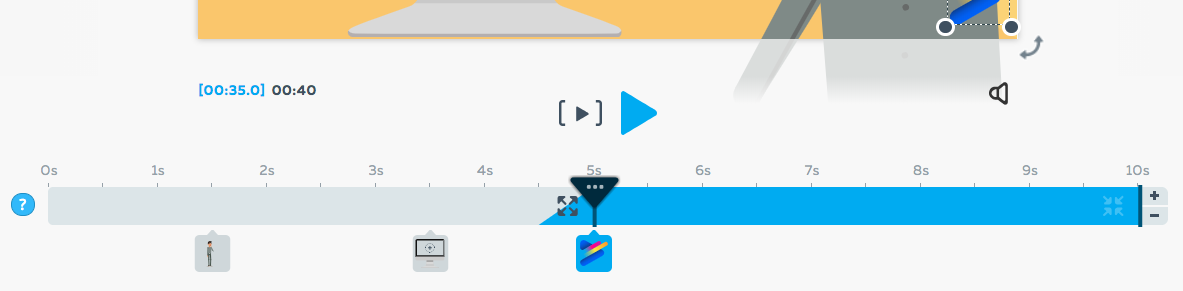
Step 5: Timing
Now you have to time it all. This is the last step and is actually one that can have a significant effect on the “professional” look and feel of your final result.
The Powtoon timeline is designed to allow you to easily adjust the appearance and timing of all the elements on the screen. You can now listen to the voiceover running in the background and make sure that all the visual elements reflect what you hear. The more accurate you get this; the more awesome the final result!

Latest posts by Jordana Pepper (see all)
- The Most Creative Teacher Is… - October 22, 2015
- How To Make Marketing Videos People Will Really Love & Share! - April 28, 2015
- Digital Marketing in 2015 - March 15, 2015
- 5 Steps to Overcoming Stage Fright - March 2, 2015